I am not afraid to admit that while I recognized this job needed to be done, I was afraid to do it. Part of the need to do the refinishing was because of the small extension I added. Yes, I could have spent some time making that extension “match” in a way. After all, the oak I had used too build the bar back pieces was sourced such that it already looked like a patchwork of multiple species.
The finish on the oak bar top at the Coq & Bulldog had seen better days. The top remained as is since the opening of the pub in 2010-ish so was now a collection of burns, stains, and damage from liquids. I had already done the work of lifting one sagging corner but I was never going to make it level, if it ever was. The owner mentioned a benefit of this: that when things spill, they run to the back bar, not to a client’s lap. I am not certain if this was intentional.
So there I was, ready to hit it with a Festool Rotex set for more aggressive removal and some 80/120 sanding discs. I was surprised at how easily the existing finish came off and brought out the bare oak. The original finish did include a tint but it appears as though it was integral to the film of the finish and not a penetrating stain applied to the bare wood.
Some stains from years of use and abuse were harder to remove than others. The stains at the bottom of 2 beer taps was not going to come out. Without patching the wood, a couple of cigarette burns were there for the long run. That I was sanding so aggressively in spots meant that the bar would also not be completely flat. Given that it already is not level I did not worry that no one could use it as a reference surface.
The existing main angled joint in the 2 runs of the bar was remarkably tight. I did add some cyanoacrylate glue with saw dust to fill the small gap that had developed over the years. I treated my new joint at the bard end in similar fashion, as I had done all I could to get that as tight as I could with the skills and tools on hand.
Sanding went from the aforementioned 80/120 to 220 grit. The coating on the bar is Osmo Topoil. I poured the first coat out of the can in areas about 2 sf at a time and followed behind with a cotton rag to spread it thin. I worked from dry to wet until then end.
Topoil calls for 2 coats but I did 3. For each coat I used a Festool White Viel to assure a uniform application before drying. After the first coat cured, I sanded with 320; after the second coat cured I sanded with 40.
Water now beads up on the bar. I know that won’t last but with some regular cleaning with an oil-soap (Osmo sells one in a convenient spray bottle) the next refinish might be easier than this one.
(I am finishing this post a couple of years after I wrote the draft. The bar top still looks good and performs and cleans easily.)
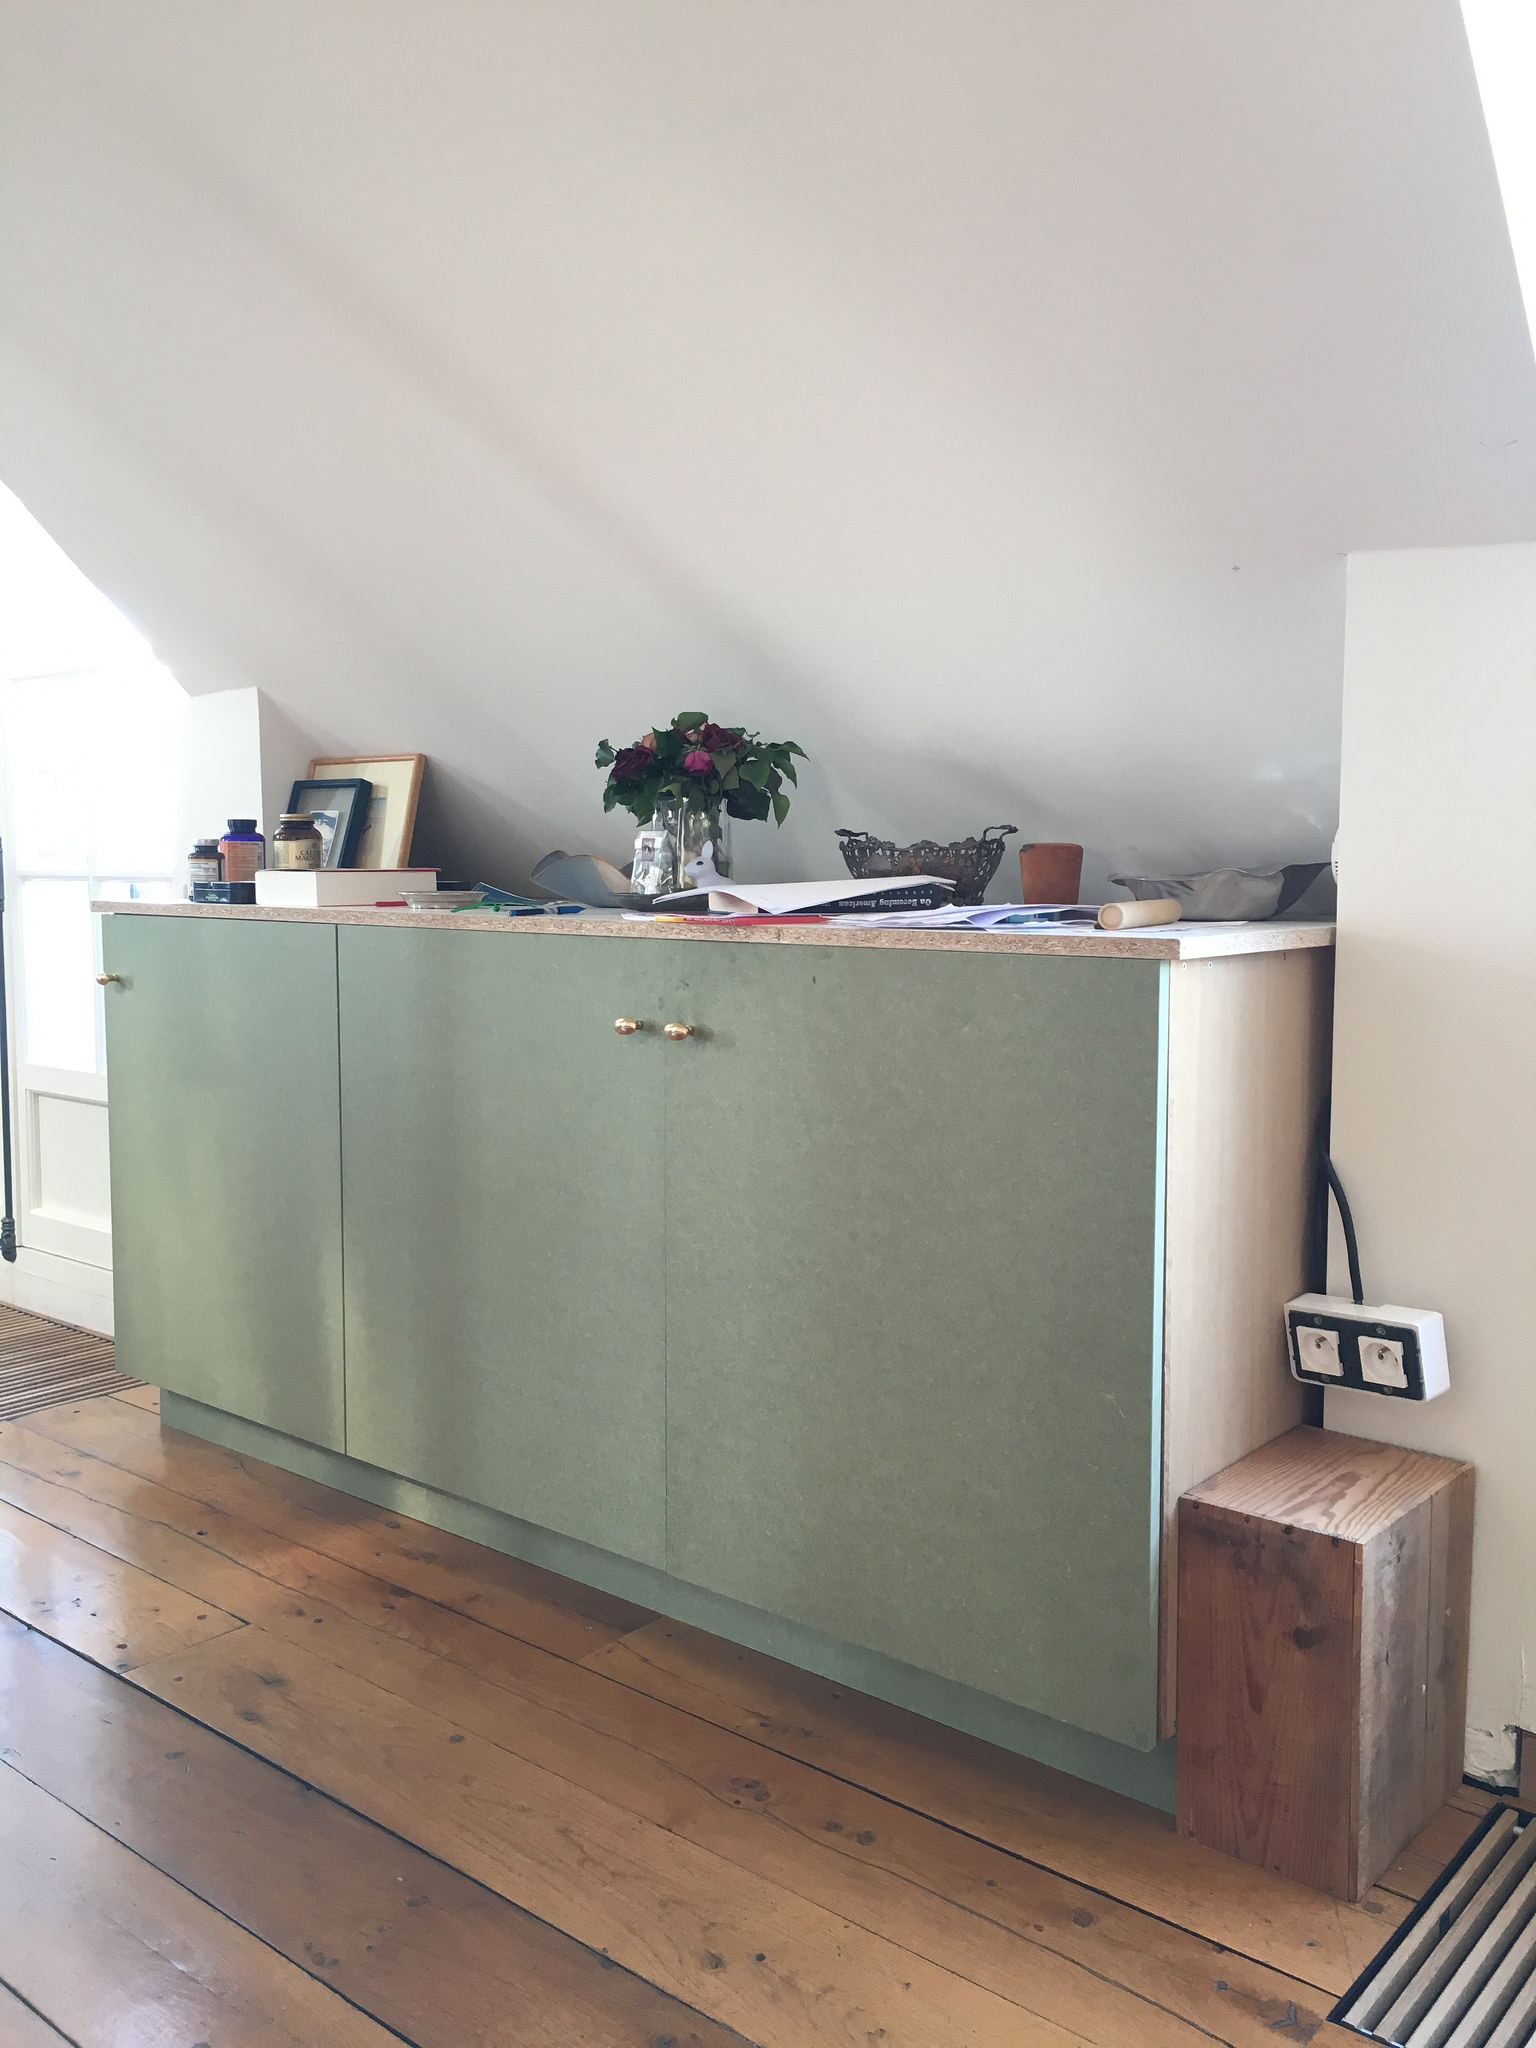
 Aside from the hardware, this project was completed with scrap material from my atelier and a repurposed bookshelf. The design was adjusted to use only single sheet divisions between each box — aside from the first, each box is, in their means of construction, only three sides and a back. The base, end panels, and trim between the repurposed bookcase await completion. The door finish will be paint to match the wall when final painting on this section of the apartment is complete. The bookshelf is from the year 2000.